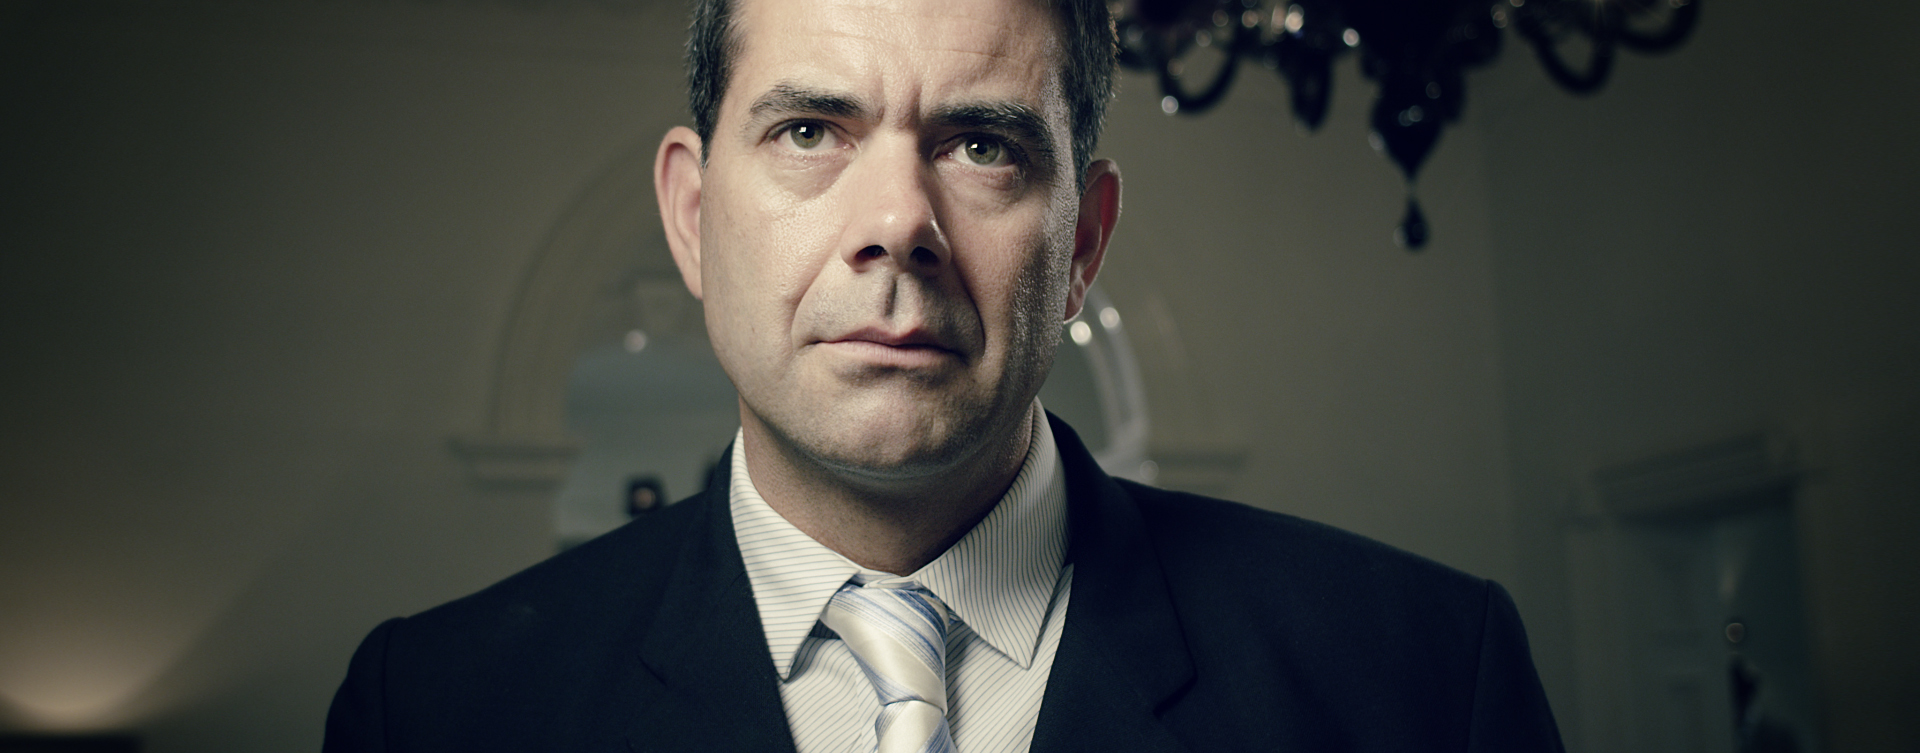
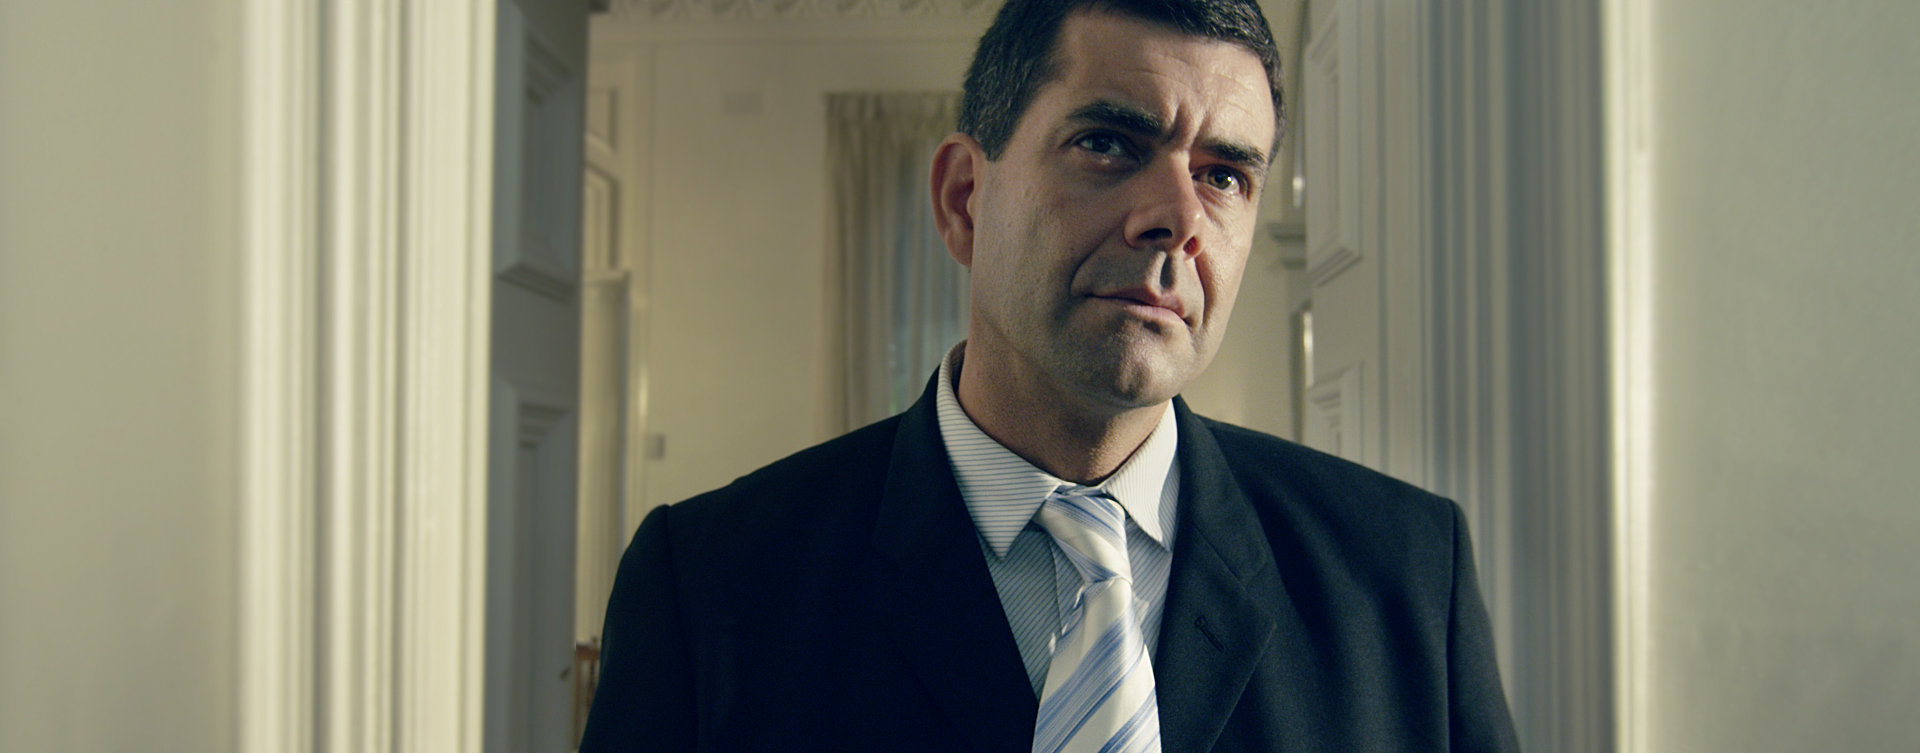
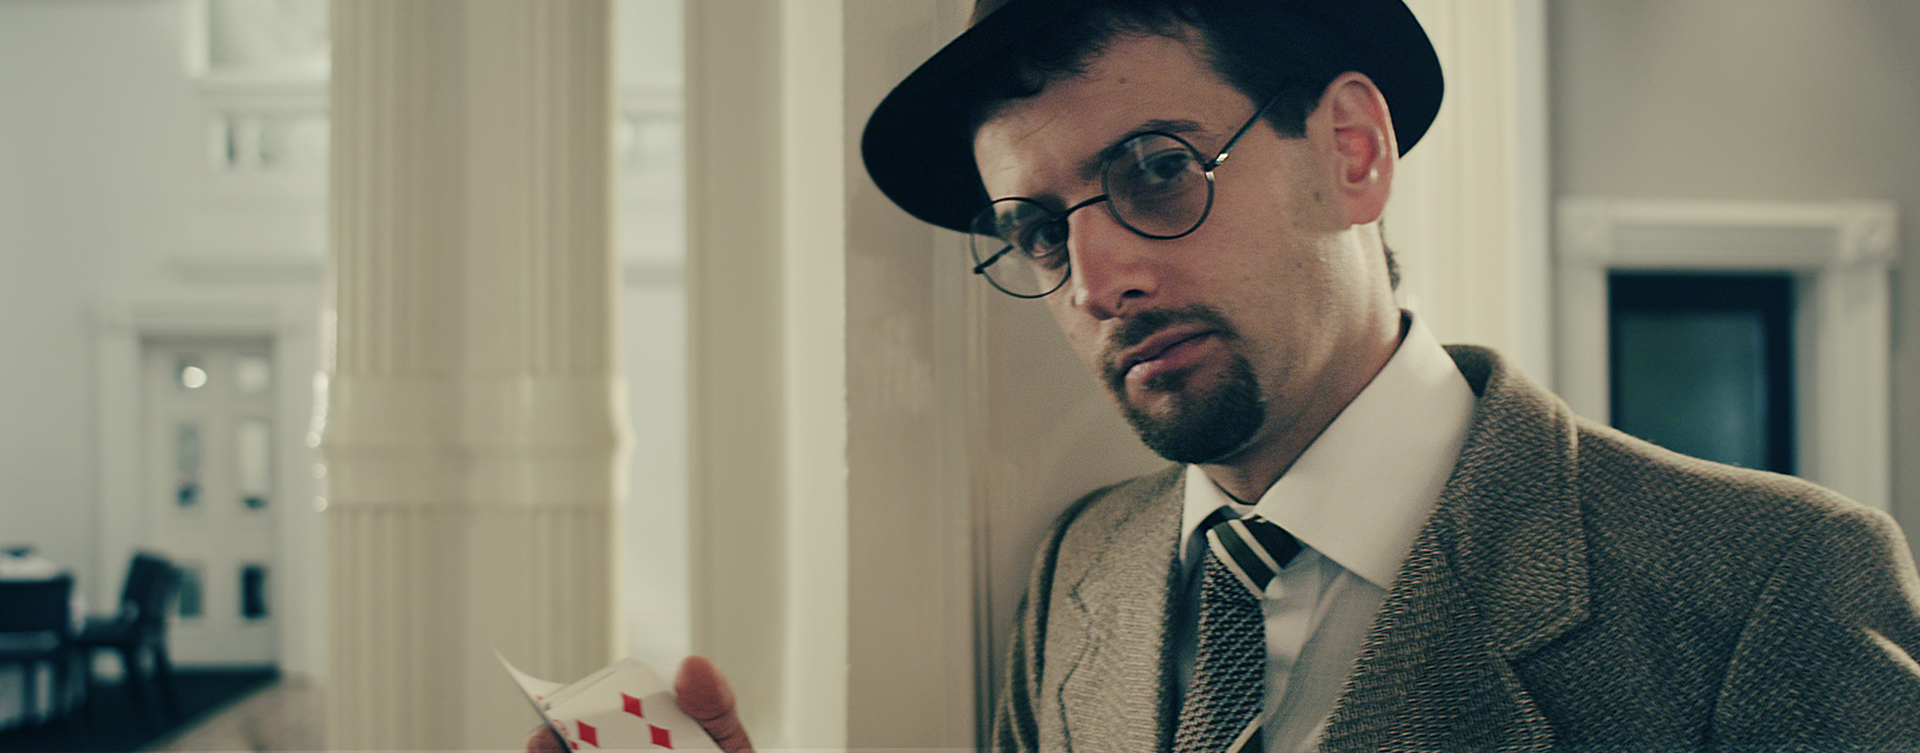
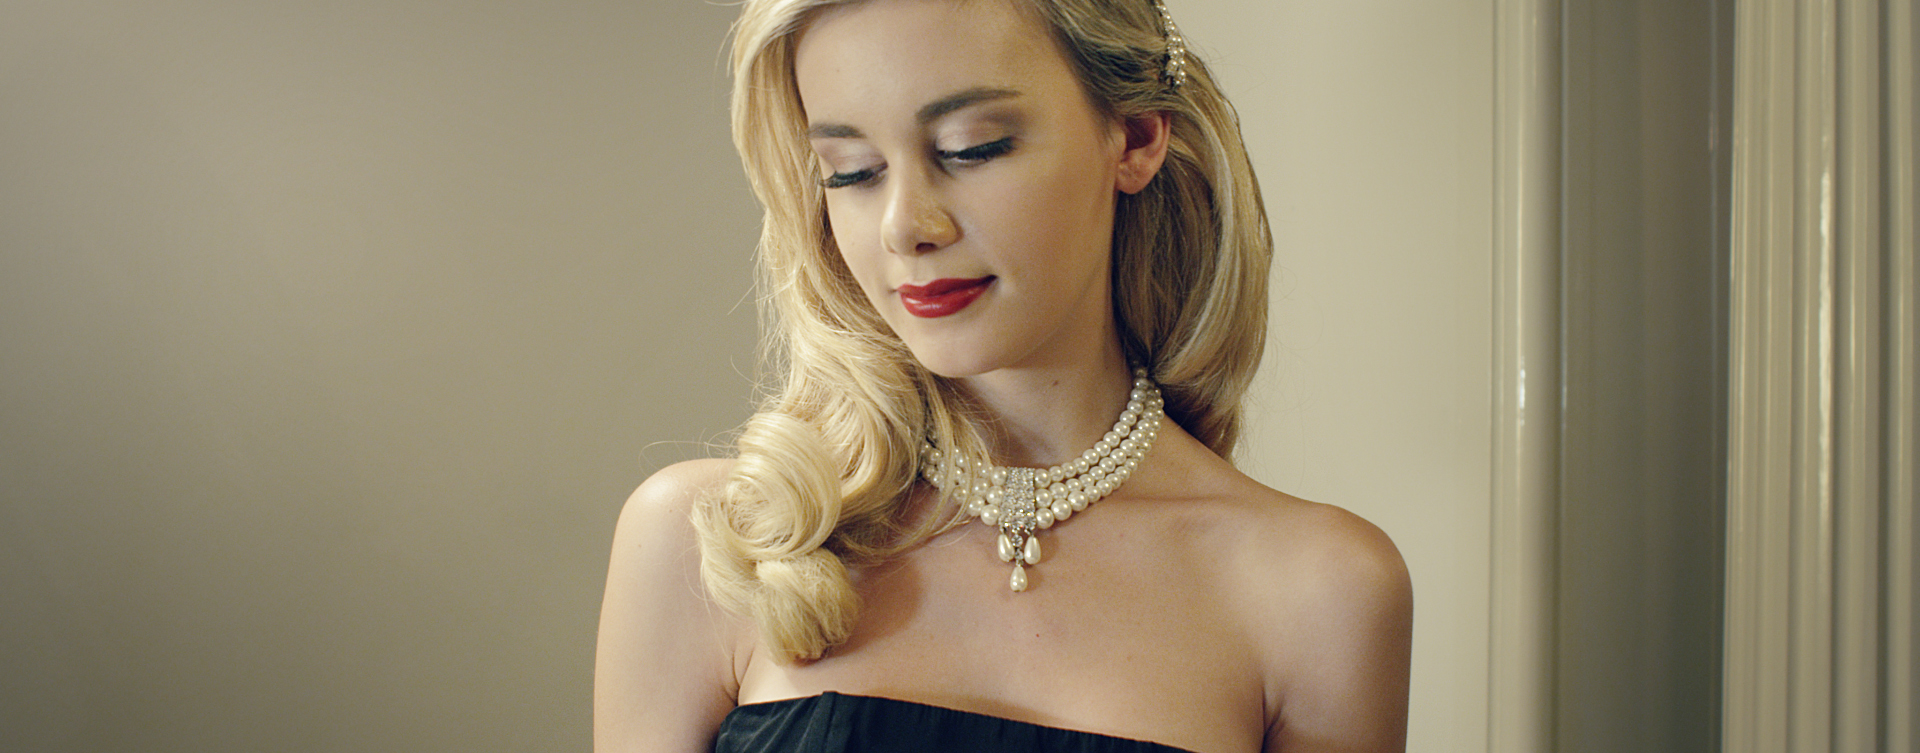
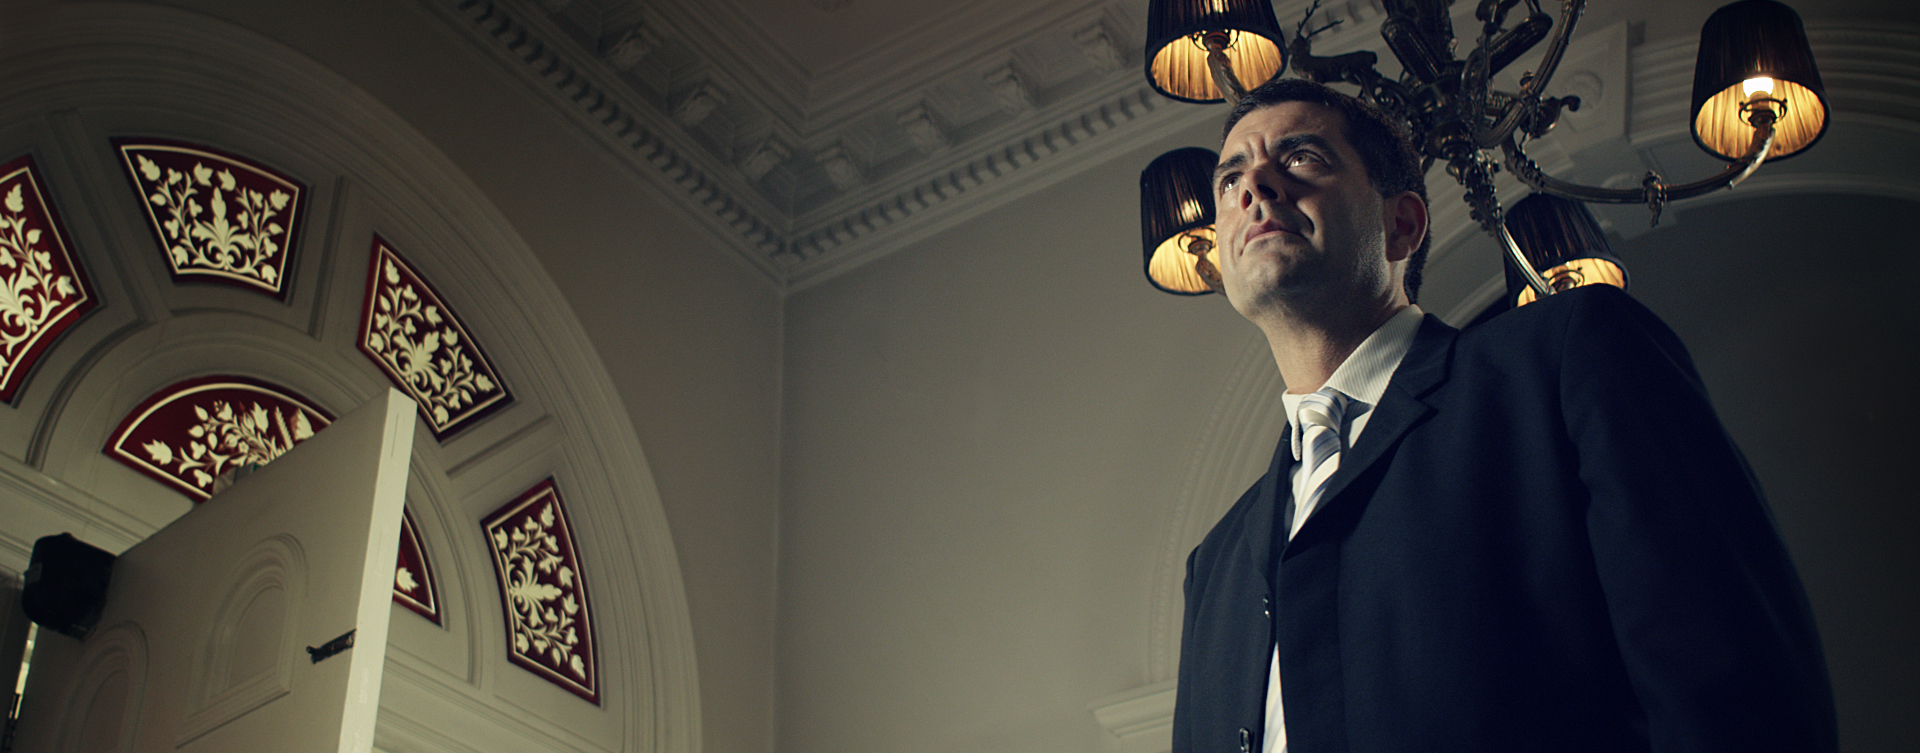
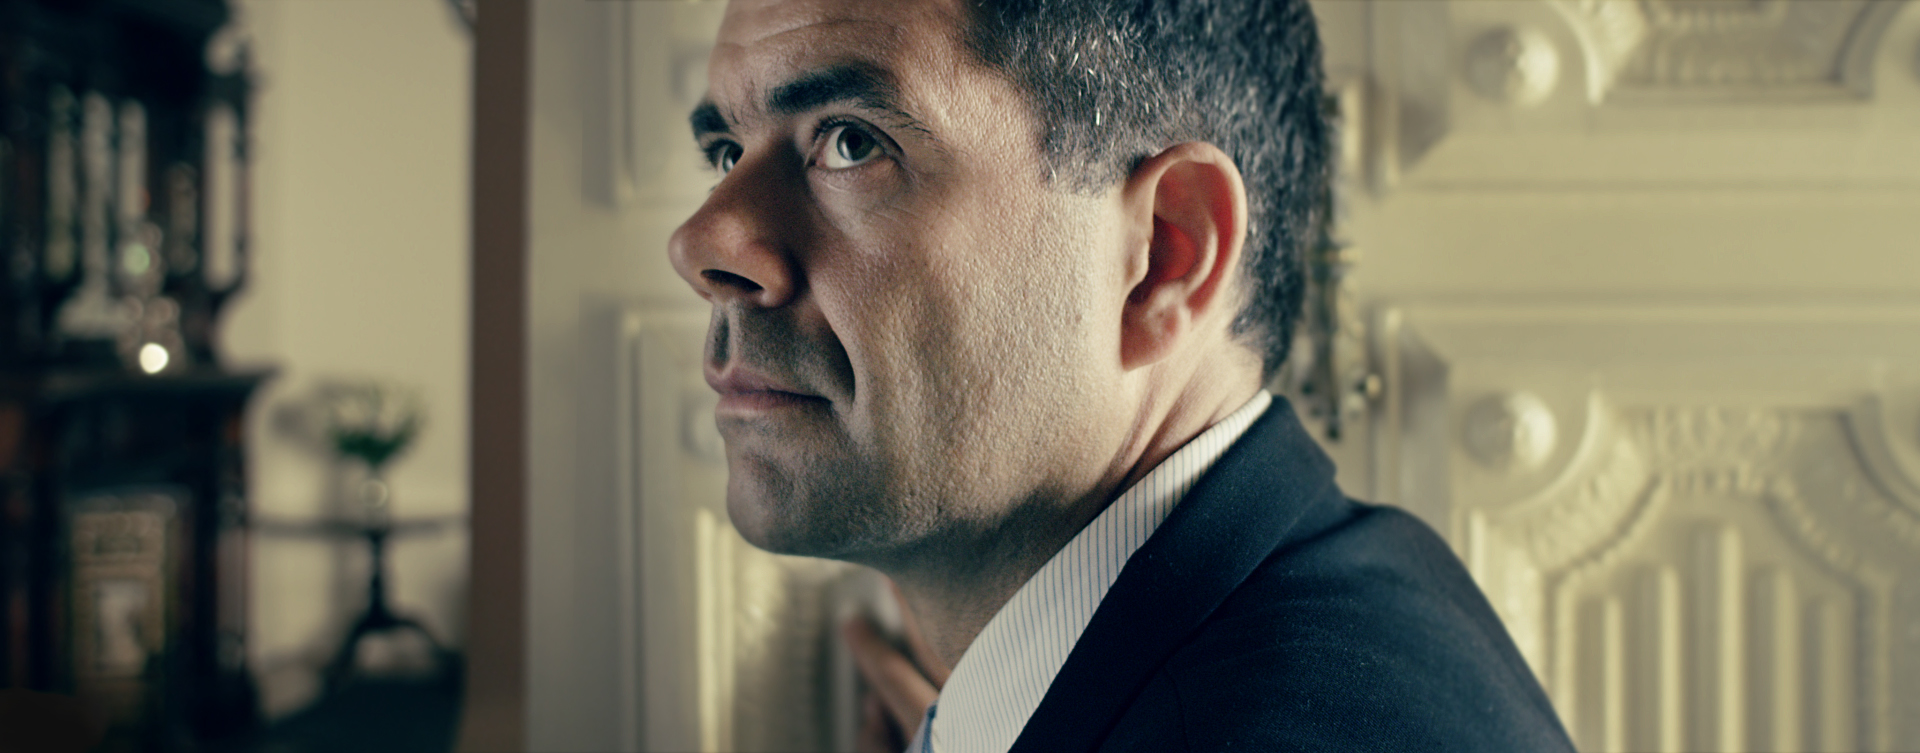
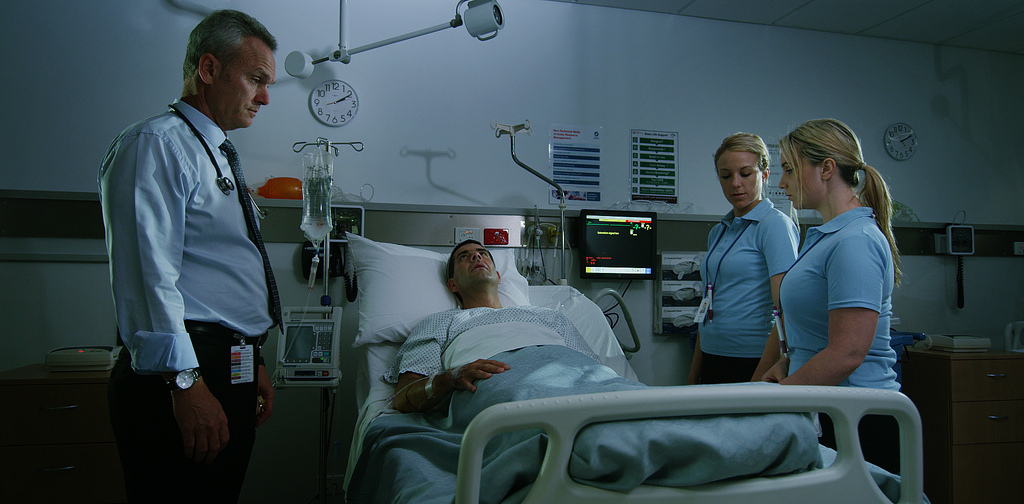
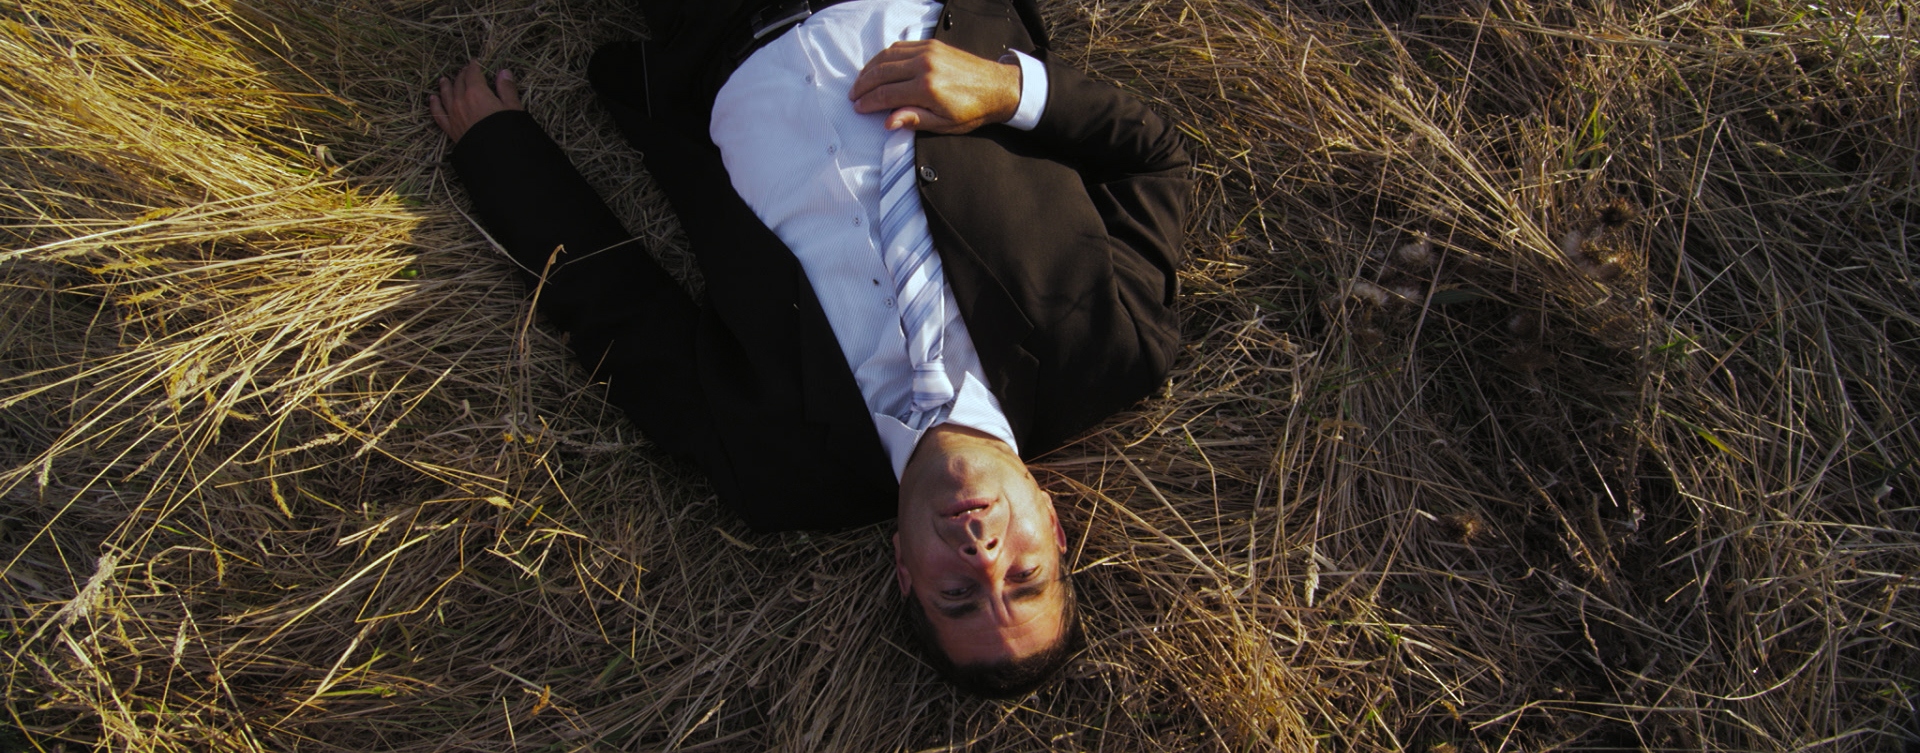
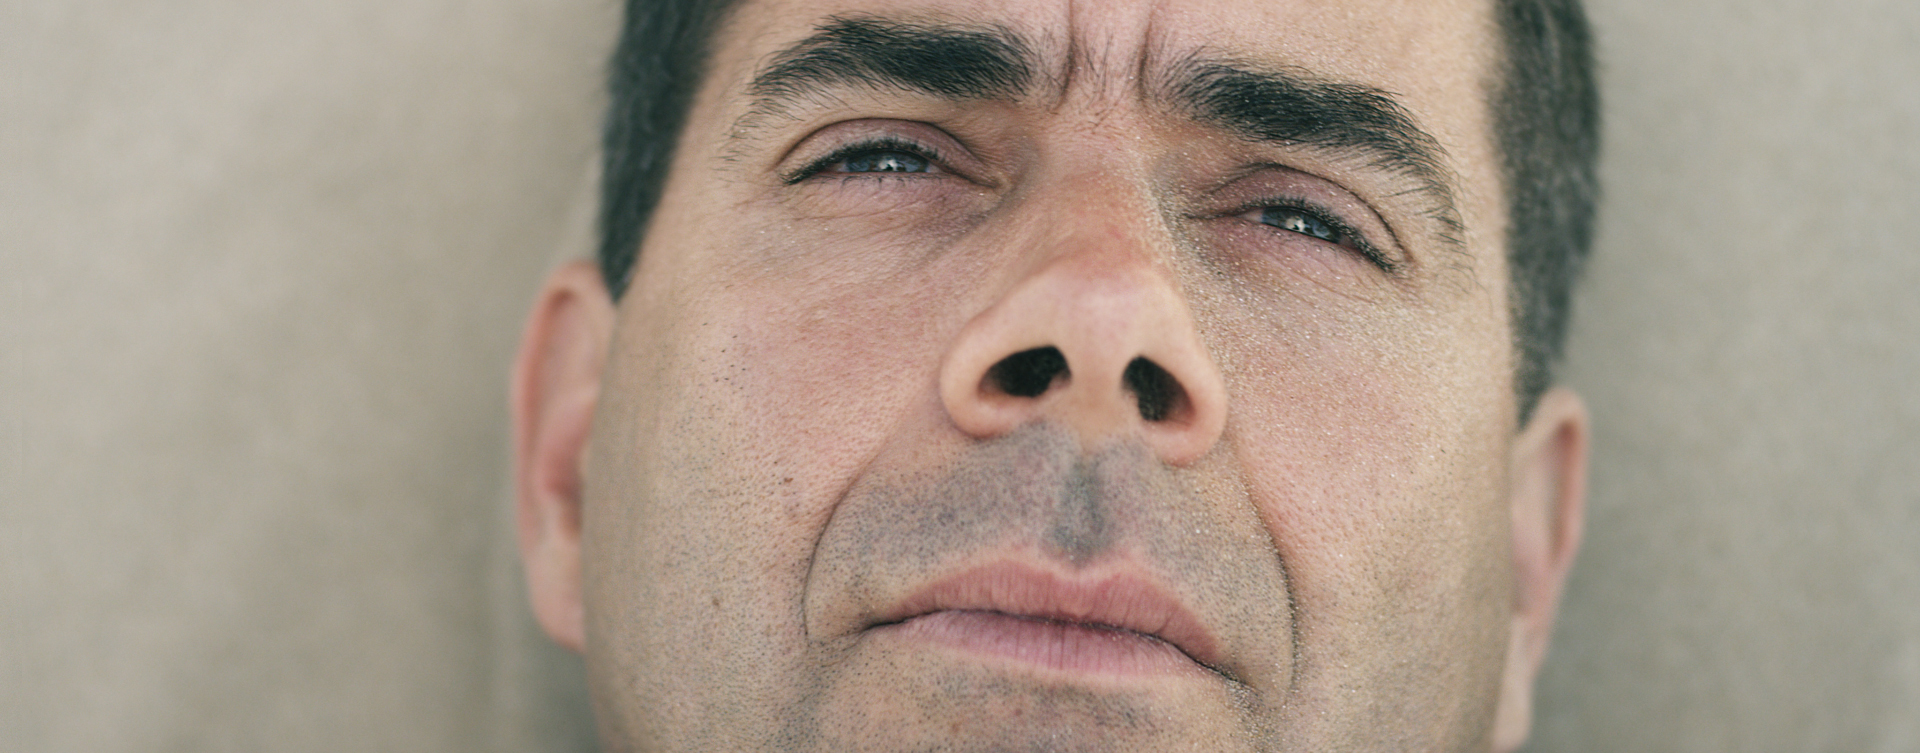
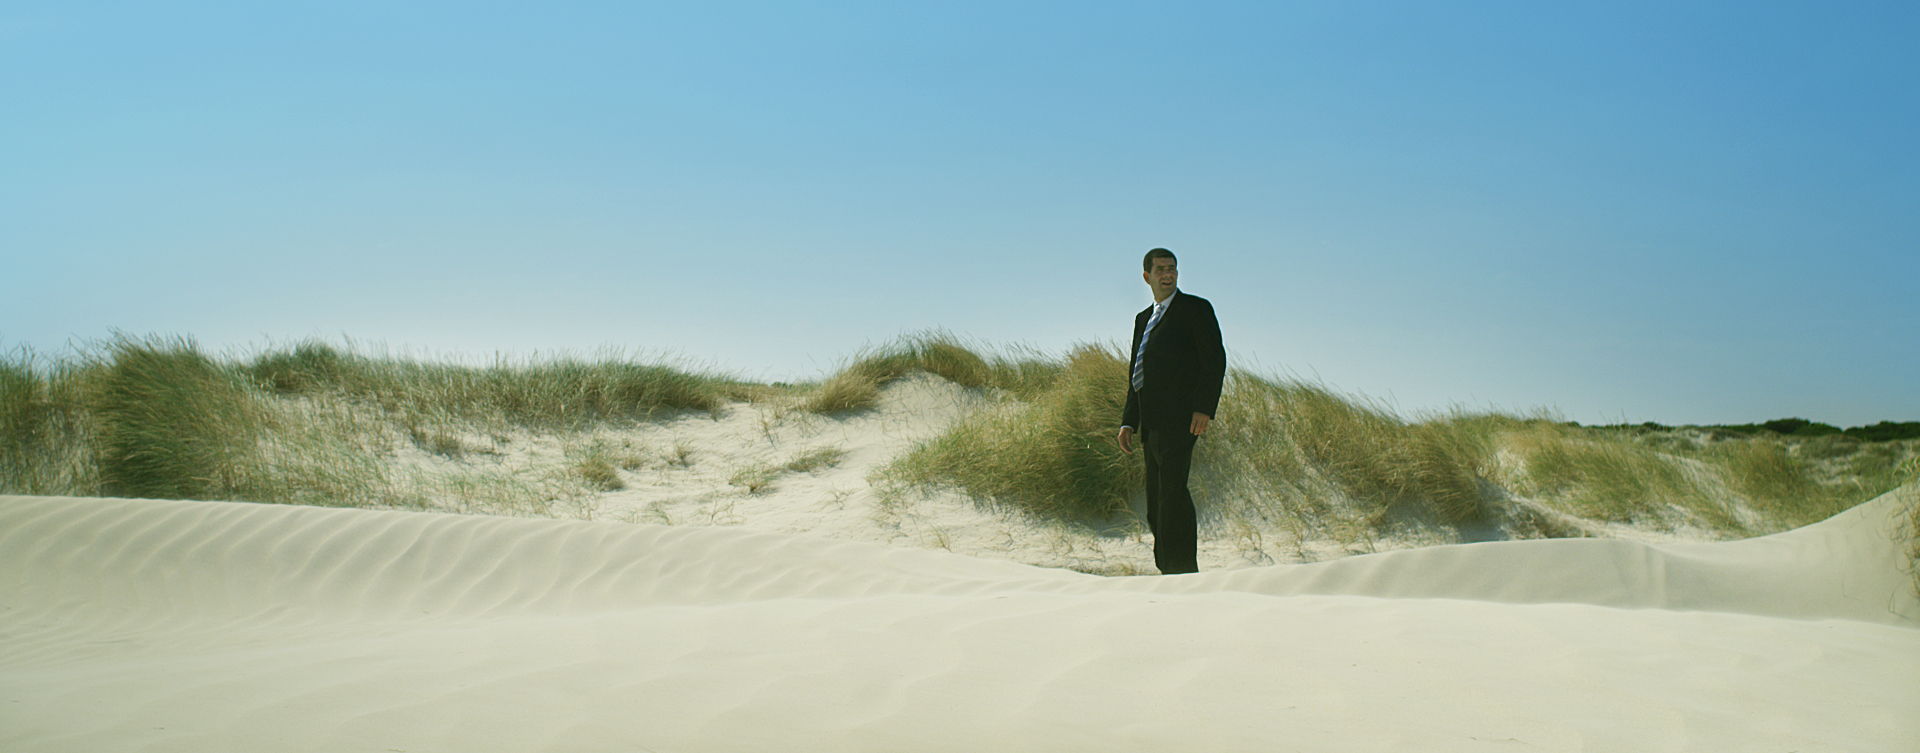
QUEEN OF THE BEES (Awesome Sci-Fi short in Melbourne)

Stills by: Justin Leijon

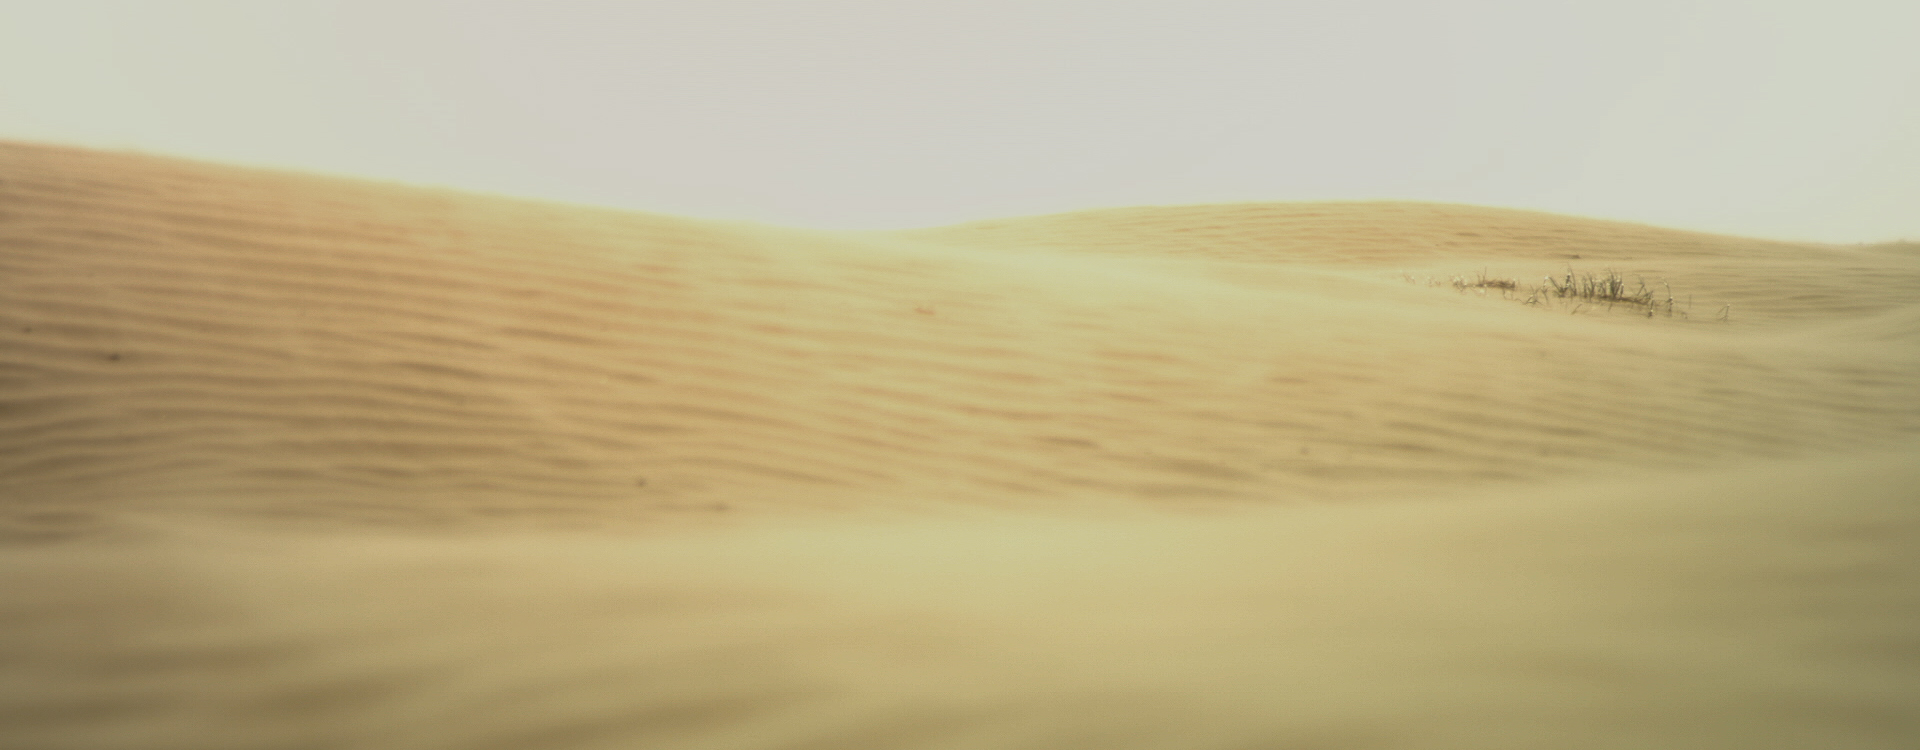
Principal photography began over the weekend...so good to be back with my crew and to be working with some amazing new talent. Writer/Director, Joseph Russell and Producer Anna Russell have assembled one hell of a team. We are two days down and I'm loving it! Here's a quick shot that Joe allowed me to share with you :) I thought it came up nice, even after some heavy noise reduction. I shot this at 800ISO on the RED and we really needed to be shooting at 3200ISO....luckily we have the option to change that in post, but let's not forget that ISO doesn't come for free. Noise was everywhere. Eventually, this will have a spaceship exploding behind the soldiers as soon as they exit it....awesome!

Noise reduction software  (like Neat Video) is great, but it can be more harmful than good if you're not careful. Check out this tutorial where I demonstrate how to selectively reduce noise only in under exposed areas, so as to keep things like skin tones intact :) 

For more info on the film, check it out here: http://www.facebook.com/queenofthebeesfilm

Stills by: Justin Leijon

Stills by: Justin Leijon

Posted on September 9, 2013 .

PREP WOIK (time spent leading up to a new film)

The past week has been filled with tutorial creations, reading different scripts for possible up-coming films and prepping for the biggest day of my career, day 1. I literally feel like I have the best job in the world. Today I was sitting amongst friends and crew, some new and some like family. It's the day before our first shoot day for "Queen Of The Bees", written and directed by Joseph Russell.

As an artist, I love music and emotion, communication and deeper meaning. As a technician, I love cameras, lenses, Steadicams and everything in-between.  Creating a film with a close knit crew is one of the most rewarding things you can do, especially when you immures yourself in it like I do. It's also nice to have a loving partner and family who believe in my dreams, for sure :)

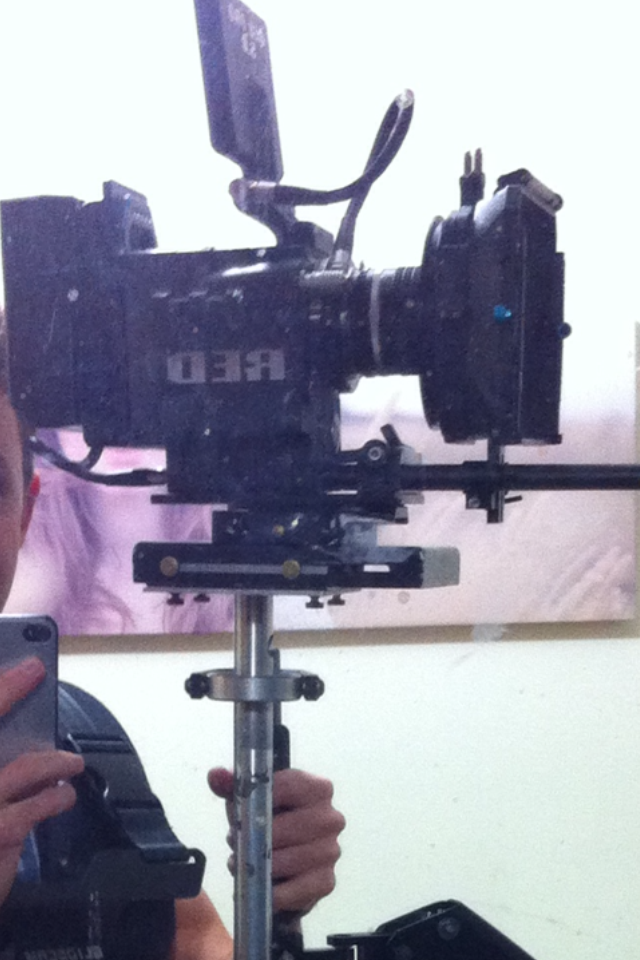
Here's a short test I shot this afternoon with my awesome AC's Ben Mix and Eddie Ng. The new completely wireless Steadicam system, this is going to be awesome!!

Posted on August 31, 2013 .

DO YOU KNOW YOUR MEDIUM? (free home-brew film grain + some rambling)

Lately I've been watching interviews and reading articles about the great cinematographers of our time. Each have vastly different backgrounds and upbringings, differences in taste and style and opinions about what works and what doesn't. The one thing that was consistent throughout however, was their knowledge of the medium they worked with - in most cases, film. One of the obvious limitations of film was that you never REALLY knew what you were going to get. You had to "know" what you were going to get, based on your experiences  behind the camera and time spent in DI (digital intermediate) suites. You really had to KNOW how a certain film stock would react to the scene at hand. But take it a step further, and then you have the ones that would play around with chemical processes, experiment with flashing and other techniques....all to get a desired and deliberate finished look. The point being that today, we don't shoot with film. Today, we shoot with digital cameras that either bake in a look for us, or shoot in formats that need to be developed. This means that today's cinematographers need to learn how to process digital formats like RAW, 4:4:4 and other high fidelity flavors of digital image capture. Without an intimate knowledge of how to process your images, you are missing out on some huge potential. I've mentioned how important lighting, lensing and composition is to the art of cinematography, but let's not forget the importance of mastering your capture medium.

This post won't cover how to do that unfortunately (there's an ever-growing tutorial collection at the top of this page for that), but I'll be sure to follow up with some new material soon. I do however, have something pretty cool to share with you. Shooting digital often means capturing a super clean, grainless image which seems to be critizied by the old schooler's as looking too "digital" or "overly sharp and clinical". This is why everyone wants "the film look". What the hell is the film look anyway!!?!? Rather than go into that, I'm happy to share with you a project that allows you to create you're very own, customized, organic film grain for video....in 4K. All you need to do is find or scan your own 5000 x 3000pixel (approx 16mp) film grain image, import it and voila! 32 seconds of awesome FREE film grain, in 4KHD. I have supplied one already to go, so go ahead and download it from the downloads section at the top of the page and watch the tutorial below for more info.

If Vimeo is playing up (above), try this YouTube version :)

Posted on August 20, 2013 .

COLOUR FROM WHERE? (amazing historic photos that have been coloured)

Young boy in Baltimore slum area, July 1938

Original Photograph by John Vachon | Prints available @ Shorpy.com
Colorized by Jordan J. Lloyd (photojacker on Reddit)

I found a link on my Facebook feed today and was blown away by it. Don't you just love that feeling when all you want to do is drop everything and TRY something new? That's how I'm feeling after browsing through this collection of stills.

It's always a challenge to get skin tones right when grading your footage, but image creating them from scratch! Check out this amazing collection of colour perfection where a series of old-school black and white photographs have been completely transformed.

http://twistedsifter.com/2013/08/historic-black-white-photos-colorized/

Isn't it amazing what colour does to an image? I mean, some of these shots look like they were taken just yesterday. Do our minds instantly associate black and white with historic/vintage/yesteryear? These days the craze seems to be manipulating clean, crisp images to look older, aged and vintage...but here's the opposite, and I'm loving it :) I'm excited to give it crack myself!

Albert Einstein, Summer 1939
Nassau Point, Long Island, NY

Colorized by Edvos on Reddit | Paul Edwards

Abandoned boy holding a stuffed toy animal. London 1945Original Photograph by Toni Frissell 
Colorized by HansLucifer

Abandoned boy holding a stuffed toy animal. London 1945

Original Photograph by Toni Frissell
Colorized by HansLucifer

It's also interesting to note that the artists who have coloured these images, have chosen a specific pallet. Why? Basic colour theory will explain that, but isn't it funny how that "teal & orange" look never seems to die ;) Take a look at the images below to see what I mean!

Two major complimentary colours. 

Teal and Orange anyone? Looks good to me, I'm sure Einstein would agree hehe :)

Here's a slightly different example, this time green instead of blue, but still, it's such a good example of colour contrast and effective pallet choice.

Again, two major complimentary colours.


The image below is one of my favorites....and again it utilizes two complimentary colours. That classic Hollywood grade...it will never die! Colorized by artist Sanna Dullaway, it almost looks like a movie set. What incredible work. If you click on the artist's  name it will take you to their Facebook page where you'll find more info :)

Auto Wreck in Washington D.C, 1921

Colorized by Sanna Dullaway | forrifarg.se


Posted on August 18, 2013 .

SAVING THE BACON (set design, wardrobe and colour)

Rob Lloyd get'n serious in "Saving The Bacon"

The more I shoot these days, the more realize how each and every department contribute so much to the finished product of a film or commercial. Learning how to light, shoot and grade is one thing but without careful consideration to your actors clothes, the space they occupy and colours that surround them, the end result will never be as good as it could be. Does that even make sense? I guess I'm trying to make the cliche point that you are only as good as your team...make-up included.

A couple of years ago I shot "Saving The Bacon", an awesome short written and directed by Ryan Thomas, produced by Joel Buncle. We had one location, and how perfect it was. The stale cream walls and the ghastly yellow hallway...I still remember the smell of the carpet too.....shuddder......BUT, it was perfect for the film and made my job so much easier.

John McCollouch, always a pleasure to work with.

If you Google "complimentary colours"  or "colour contrast" you'll hopefully see where I'm going with this post. Your job as a DoP is to bring the director's vision to life (among other things) but how much easier that is when you're environment is already half way there. If you take a look at the frame grabs accompanying this article you'll notice two dominant colours - Blue and Yellow. You could almost compare them to the classic Hollywood "Teal and Orange" look that we see in so many blockbusters these days.     The yellow tie, the yellow wall....complimented by the cool shadows and dark jacket. And when talented John McCollouch looks ahead, his blue eyes really shine. Good makeup also plays a huge role, thanks to Emma-Ray Stewart for the excellent work you see here :)

I made some minor tweaks to the saturation and contrast but the look you see here was almost entirely created on set and captured that way in camera.

STB_04.jpg

I got news today that the film is now on-line after its festival run :) Here it is below:

I'm really looking forward to working with Ryan again on his next film, he is a genius! 

Posted on July 19, 2013 .

NINJA LIFE! (Shooting my 4th Australian Feature Film)

A few months ago I got the awesome news that I'd be shooting one of Australia's first action packed feature films, "NINJA: IMMOVEABLE HEART" , written and directed by Rob Baard. I had grown up wanting to be a ninja, and honestly to this day I still move around the house, opening doors and draws as quickly and as quietly as I can. The film was to be shot entirely in Geelong (just out side of Melbourne) with over 30 odd days to do so. We are 20 days in and it's safe to say that this epic ninja adventure has been one of the best experiences of my life :) My love for cinematography extends far beyond the camera and lens.....for me it's all about the collaboration, the people, the problem solving and experiences I have on set. I love it!

Below are some of my favorite frame grabs from the film. When things quieten down a bit I'll be writing more about the gear I used and some technical problems I've faced. Thanks for visiting :)

Ninja_Film_d.jpg
Posted on July 5, 2013 .

SISSY BOY (Grading RAW)

The first ever film I shot with my RED Scarlet-X was Sissy Boy, written and directed by Cameron McColloch. It was a tight scheduled short film with some ambitious shots to boot. The opening shot of the film was supposed to be a wide shot of the suburbs which cranes down into a medium of the "bully" riding his bike past camera on the local bike track. With a short film, self funded indie budget, a shot like that aint easy! Or is it? Cam and I made a trip to the local hire center and jumped in the tallest most stable scissor lift they had. Perfect :) All we needed now was a jib and some balls ;)

cherry_01.jpg

I didn't grade the film (which is playing at festivals right now) but I recently pulled up some footage and had a play. There were a few shots that I thought would be good examples of how RAW footage can be transformed into almost anything you want! 

Above is the protagonist of the film, Shayne Donghi. The before and after (RAW vs graded) really shows what you can do when you understand color and start thinking about what you do and don't like about a shot. What needs fixing? What do you enhance? Where do you want your viewer to focus? These are some great questions to ask yourself when looking to grade any shot.

For an in depth tutorial on how I achieved the above grade, check out the tutorials section at the top of the page, or simply follow this link :) 

Here are a couple more frames from the film which I graded in resolve using similar techniques.... 

The opening shot of the film can be viewed at the Sissy Boy facebook fan page :) Cheers!  

Posted on June 14, 2013 .

THE SNAP FACTORY (the importance of attitude)

A few weeks ago I was contacted by a Luke asking me if I would be interested in shooting a pilot for a possible TV series that he wrote. I read the intense script and instantly fell in love with the visuals, but more than that, I fell in love with the passion that Luke had. He is by far one of the most passionate write/directors I've ever met. He values team work and family more than many, but on top of that, he openly and frequently expresses his gratitude. t's funny how you get what you ask for hehe :) t was to be a high pressure, low budget shoot with minimal crew and even less gear. We had a budget of $150/day for lights and Luke wanted...

Posted on April 23, 2013 .

SCHOOL'S OUT!!! (a brief post about my learning experiences since high school)

I HATED School. The social aspect was awesome, but the classroom setting sucked for me. The funny thing is though, I actually LOVE learning. I thrive on it! In November 1998 I quit my VCE right before the final exam....so no pass for me. Five years later I went back and did my VCE again from scratch (at the same high school with some of the same teachers!) and passed with success. But, I still hated school! I studied science and psychology. I thought about going to university but ended up deciding against it. No matter how hard I tried, it just didn't sit well with me. My point to this story is that just because school wasn't for me, I knew that I wanted to learn and grow and follow my dreams....even if I couldn't do that through a typical education system. It was scary. The key then was surrounding myself with people who were already doing what I wanted to do. I met amazing people and had awesome experiences....all of a sudden I felt excited and hungry to learn, but in a different way. I would learn through experiences and relationships. I WANTED to learn and study and test myself by growing through actual results....failure, success, whatever. I'm a harsh critic too hehe ;) Now, I actually LOVE studying....and look forward to putting in the hard yards to master my craft.

I remember a couple of years ago I said to myself "I really want to learn lighting". I already knew how to work with natural light and find beauty in every day settings, but now I wanted to learn how to CREATE beauty with my own lighting. I'm by no means where I want to be just yet, but I have learned a HELL of a lot in the past two years and I get really excited to experiment and try new things on every single shoot that gets sent my way. 

The cool thing is, recently, (this morning in fact) my brain just decided that NOW it wants to experiment with colored lights. Gels, etc. Awesome. If only school was this exciting hehe ;)​

You can find somerecent results from a film I'm shooting called "The Snap Factory", Written and Directed by Luke Launer here :) I lit this with fairly low wattage Tungsten Fresnel's and some LED panels...I'll be sharing more details in my "LIGHTING" section soon :) ​

Posted on April 18, 2013 .

AFRAID OF HEIGHTS? (I'm not!)

As a freelancer, and a business owner, I'm doing fine :) The thing is, I want to start focusing more on my ultimate goals and attract jobs that are more in line with where I want to take my career as a DoP. I want to shoot the biggest and best Hollywood feature films....I want to shoot the next James Bond movie. I can see myself as Director of Photography for amazing television shows like Breaking Bad, or working on television commercials that are cleverly crafted and produced to the highest standards.

Ultimately, I want to work with people who place the up most importance on the craft of film-making, people who value team-work and demand the highest quality of skill sets and artistry. I want to be part of that team.

For me personally, I think about this every single day. But more importantly, I work towards it, every single day. So....the one thing I've noticed in this world is that for things to really start happening, you need to do two things.

1). Stop thinking and start doing.
2). Talk about your goals and start the conversation.

My best work has always resulted from collaborating with an amazing crew. I'm looking for people who share my values and invite you to join in on this conversation....or at least think about it to start with ;)

Posted on March 8, 2013 .

RED EXPOSURE (plus a RedCine-X tutorial)

If you're new to shooting RED, it can be frustrating. You have this camera that supposedly is the best in the world, good enough for Ridley Scott, Peter Jackson and David Fincher...but hold on a sec....my images are really noisy? My skin tones are horrible! What is going on? RED cameras capture RAW data, and soon...I'd say in a years time, nearly all professional video cameras will likely have some sort of RAW recording mode.  What does shooting RAW really mean? Why is it so good? How can it be disastrous if you jump in without looking.....​

I've owned and operated my own RED camera for over a year now and I feel like I'm only JUST beginning to feel at one with it. Part of that is because I like to learn from experience, but it's also an entirely different beast compared to any camera I've ever shot with. Sure, the basics of exposure are all the same, however, it can be tricky when you look at your monitor and think to yourself, "Sweet! That looks awesome!"​, only to find when you get back to the edit suite, it's noisy as hell and something clearly isn't right.

If you browse the internet, looking for "what are the best exposure settings for my red camera", no doubt you'll be confronted with conflicting opinions. RED's "Mysterium-X" sensor, although beautiful, is fairly old technology. It's RED's second generation sensor. Let's think about that for a second. RED is a baby company, in terms of age. They released their very first digital cinema camera (some say THE world's first affordable digital cinema camera) back in 2006. That's not very long ago....compared to the giants like Sony and Panasonic. So, my point is, although they are literally changing the industry with ground-breaking inventions every year,  they've started from nothing, not very long ago. This brings me back to the Mysterium-X sensor, the one found in their flagship camera, the RED Epic and also the RED Scarlet.  As amazing as these cameras are, if you compare their low-light sensitivity to say, a Canon C300, well....you just can't. The Canon, in terms of light sensitivity and low-noise is absolutely jaw droppingly impressive, and it blows the Epic out of the water. But let's not forget that in every other aspect, RED wins, hands down. Resolution, compression, modularity, bit-depth, dynamic range, etc, etc, etc. Hollywood Blockbuster's are shot on RED for a reason.

However...

That sensor. It needs light, but it also needs to be understood.

Have you ever looked at RED footage and thought...."YUK! It's so brown/grey and murky!" or something similar? That's because the camera is good. Not bad. Those brown and murky, super flat images you may have seen are the result of poor post production, bad exposure or usually, a  combination of the two. As soon as you understand RAW, how to expose accordingly, and the power you have in post, you will quickly begin to see why there's so much hype about these cameras, why the greats use them on their feature films, and how YOU can tap into that awesomeness. So, if you've shot RED before and felt disappointed with the results...rest assured, it was YOU! Not the camera hehe....Now that didn't sound very nice...sorry about that. But it's true. This camera requires YOU to be great, and for me personally that was the hardest thing to swallow when I shot with the Scarlet for the first couple of months.

In the tutorial below, I talk about exposure, noise, working with RAW and how to use curves to quickly get footage looking lovely. It's nothing too deep, but there's info in there that would have given me a 6 month head start to where I am now, so I'm hoping it helps others out there. (let me know!)

Finally, below is a recipe that some will disagree with, but from my experience, I get awesome results from, time and time again.

In-Doors, Low Light:
> Light for 320-ISO
> Use Daylight (HMI's, 5600 LED's) where possible
> Monitor your exposure using the "RAW" view, keeping your histogram slightly to the left but mostly in the middle, avoid clipping at both ends.
Why? Because 320 ISO will give you SUPER CLEAN blacks and a grainless image. Is 800-ISO okay for indoor, low light? Yes, but it's not as clean as 320. For some samples of 800-ISO in doors, check out the grabs at the bottom of this blog post here, all shot at 800-ISO with tungsten lights.

Out Doors Sunny:
> 800-ISO
> Monitor your exposure at 800ISO, white balance 5500. Keep Highlights from clipping and try to fill histogram with a nice spread, dipping at the sides.
Why 800ISO? Because 800ISO gives you a stop and a half of highlight protection and at 800ISO, the noise is not an issue under scenes that are broadly exposed (outdoor daylight).

Thanks for visiting :) Let me know if this was useful, I appreciate any feedback.​

​

Posted on March 1, 2013 .

SCENE CHANGES (music video composit shots)

It took us three days to shoot our latest music video "All The Mountains", by singer/song write Paul McSherry. The team we have assembled at HEIST Films (www.heistfilms.com.au) is really coming together well. Although it was a fairly stressful shoot in terms of time, my job as DOP on this particular shoot was made easier knowing that everything else was being looked after by specialized, skilled and passionate people. That sort of support and structure gave me the space to focus on my job, 100%. So anyway, back to the blog :)

There are three visual effects that will be in the final clip which I was really excited to get happening! Visualizing on set is an awesome experience and as I looked at the scene and knew what I had to do. There's an opening shot that the lyrics describe as "...a cold day in November", but as I looked around me, all I could see were warm golden hills on a beautiful summer's afternoon! I squinted and imagined something different.....the director also wanted a shaft of light streaming down from the heavens onto the body! Here's what I came up with :)

It's not the best composit in the world, but I think it works well for the clip. Here's a before and after shot too (below). I originally made the scene super blue and cold, but I tuned it back to a desaturated warmer look....I really like the result. What do you think?

​There's a technical note to make about how I shot this too. For those of you who know about the RED Scarlet's capabilities, you'll know that shooting at 4K gives you a 1.6 x crop factor. I wanted this shot to be SUPER wide, so that meant shooting at 11mm...something I don't particularly like doing because of the distortion it gives. If I had a RED Epic, I could have shot this at 5K which would have given me a 1.3 x crop factor...much nicer. That's not possible on a RED Scarlet.....or is it!? Did you know that if you enable "Look Around" in the sub menus, switch to 4K and record the HDSDI out to an Atomos Samurai, you get the full 1.3 x crop of a 5K image down-sampled to 4:2:2 10-bit 1080P! That has totally blown my mind, and now I feel like I have an Epic...hehe....sort of ;) So, this means even higher detail, less apparent noise and sharper images. I'll be writing more about that later.....but in the mean time, check out the Atomos website, their products are awesome :)

Here's the other shot I just completed for the clip...not as dramatic or as cool looking, but it sells the effect enough and is really only a quick. The idea is that our hero is out in the wastelands, where nothing is around...but all of a sudden he sees a hotel in the distance....amongst the nothingness. I'm no composting expert but I'm pretty happy with how it turned out. ​​

Eventually, I will be creating a tutorial that shows you how I created the first shot in post, so stay tuned and thanks for visiting my blog :)

​

Posted on February 26, 2013 .

AT THE END OF THE DAY... (it's not about your camera)

There's a lot to learn about cameras and post production these days. It seems like a new camera is born almost every 6 months! Along with that there's software updates, plugins and tools that give us so many choices both on set and in the edit suite, so how do we know what direction to take? Which tools are right for the job? Do the tools we choose make all the difference?


If you've read my post "There's an I in Team", you'll understand how much I value a good crew and how important it is to work with skilled and passionate people. So let's say you have a great team....what about your gear? What camera do YOU shoot on? I hate that question. Which colour correction software to you grade that with? I get asked this stuff a lot. I guess there's nothing wrong with these questions, but there's a part of me that cringes at the idea that a certain camera or certain software package will give someone an edge, or magically transform them into a better film maker. To some extent, new gear and the best of it can certainly inspire greatness. Hell, when I first got my RED Scarlet I thought to myself, NOW I finally have the tools to be great. I FINALLY have a camera that is good enough. What a load of crap that was. Yes I had an amazing camera but it did nothing to the way I looked at light. It helped none with the way I composed a shot. In actual fact it was more of a reality check.....maybe I wasn't as good as I thought I was? My first few shoots with the camera were average enough not to share hehe ;) But, in a way, it was the best thing that could have happened to me.  I now had a camera that was good enough for David Fincher's "The Social Network", but the guy behind the camera...me, needed to up his game. So what's the point to this long winded paragraph? Well, my point is that cinematography shouldn't be about cameras, or lenses, or what brand matte box you have. Of course, this is something most would agree on in casual conversation, but how many of you ACTUALLY believe that? Or practice it? 

Last week I shot a really cool music video over three days and although we had a small budget to cast, dress and set our scenes very nicely, the camera department got left in the dark. Thankfully, I own a lot of my own gear, but I don't own a dolly or crane which is what we really needed for a few shots that we had scripted.  The plan was to shoot the entire clip on RED at 4K and then down-sample the final edit to 1080p. Earlier in the week, Nikon contacted me and asked if I would like to play with a D800. "YES PLEASE!" I said. I love learning and experimenting with new cameras and had always be curious about the Nikon variety - especially since they have clean HDMI out.

With these two things in mind (1080p delivery and a tiny crane) I decided to bring the Nikon with me.

First off, let's just say I love the thing. It's tiny, the batteries last forever, the dynamic range, color and detail are beautiful and of course it loves my Nikkor prime lens collection. I shot three shots with the D800 instead of my RED and unless I told you which ones they were, you would be hard pressed to pick them...

Which is RED and which is the Nikon D800?Click below for larger, better detailed links :)

Which is RED and which is the Nikon D800?

Click below for larger, better detailed links :)

Pic 1

Pic 2

So, am I saying that the Nikon D800, a mid-range DSLR is comparable to a RED Scarlet? Hell no I'm not. BUT! Couple that thing to an Atomos Ninja-2 and you get delish 10-bit 4:2:2 ProRes to play with. Light your scene, choose your lens and frame your shot wisely, and you can inter-cut both cameras all day long. There will always be bias towards which camera is better and which brand is going to offer you the things you need, but, at the end of the day, it's not about the camera. It's about what works for the job at hand.

Below are a collection of frame grabs from the shoot...we are almost done with the edit. Some colour and a few FX shots to go :)

Posted on February 17, 2013 .

SETTING THE SUN (keying and masks)

A few weeks ago I was out with my RED playing with the new time-lapse features that were released in a recent firmware build for both Epic and Scarlet cameras. It was a long (but awesome) day which ended at one of my favorite places on earth, "Half Moon Bay" not too far from Melbourne's CBD. The sun had set and the light was gone.....or was it? 9:15pm had rolled on and visibility was quickly fading. Shooting in this light with a DSLR or any camera that crushes the hell out of your footage with a lossy, deliverable codec, would have been pointless.  But I had an idea! You might remember my recent obsession with trying to create a believable moon composit....(here) almost there hehe ;) But, this gave me the idea....what if I could create the SUN! Using the same principals? Knowing the power I have with 16-bit RAW footage from the Scarlet, I quickly set up the tripod and grabbed a few shots.

Here's the result :)

I have always loved post production, even though I'd much rather be out there shooting. The thing is though, the more I learn about post, the more I think about and CREATE shots out in the field. It's very rewarding and extends the enjoyment of shooting all the way into the night. For a free, in-depth tutorial, visit the TUTORIAL section of my blog to the left. Enjoy!

Below is another shot from the same day...not as cool, but I tried splitting the scene so that the foreground water plays in real time, whilst the background clouds and sky play at ten times normal speed. What do you think? Never stop experimenting! It's the best way to learn and explore this wonderful craft.

Posted on February 3, 2013 .

NO SECONDARIES CHALLENGE (using redcine-x as a grading tool)

Not many people will like this grade, just as not many people liked my zombie yellow grade hehe....but lately I've been practicing with extreme looks rather than the more tasteful, "balanced" looks where contrast is added, skin tones are adjusted and the over-all tint of the image is corrected. A good colorist knows subtlety and also knows what parts of an image need attention. This is clearly not an example of that. This is me seeing what I can do with RedCine-X only...no DaVinci Resolve, no EDIUS, no masks or secondaries. With this limited (although free) "grading" software (RedCine-X) I was trying to go for a Michael Bay look.....overly saturated, crazy popping skin tones, super high contrast with a blue wash over-all.

Not using secondaries is a good way to challenge your coloring abilities. Even though I've come close to something I wanted in the below example, there are problems......the blacks aren't balanced, they have a tint (they're not black), the noise is more prominent than it was because of my extreme curves/white-balance settings, and finally, the skin tones aren't right (there's banding and a clear separation of colour - even in 16-bit!) but they're close :) These problems could easily have be avoided, or fixed in DaVinci Resolve.

Can you do this with just curves? Can you separate skin tones and the background without secondaries? It's a great way to practice and a good skill to have. Using secondaries is always going to give you more flexibility and accuracy, but getting to a decent point without them is a skill worth your learning. Thanks heaps to Phillipe Ratton for supplying us with RAW stills from his film (more info here: reduser.net/forum/showthread.php?91813-upcoming-short-shot-on-scarlet)

If you're new to grading RED footage, or want to learn a little more about curves and RedCine-X, check out my tutorial here :)

Here is much more subtle version of the same grade, again, done in RedCine-X. I'm a sucker for the teal/orange look!!

Here is much more subtle version of the same grade, again, done in RedCine-X. I'm a sucker for the teal/orange look!!

Posted on December 27, 2012 .

TEN SECONDS OF MOON SHINE (how to create a realistic moon shot in post)

Before I write anything more, I'd like to say a BIG thank you to Andrew Kramer and the guys over at Videocopilot.net. Many moons ago (hehe) I started following his work at Creative Cow and have been constantly inspired not only by his amazing tutorials but also his willingness to share with this industry. He has given so much over the years and I, like thousands of others I'm sure, really appreciate it :)

I've recently just finished shooting my third feature length film, "Only The Young Die Good", written and directed by Dominic Deacon. It's a quirky detective noir film set in the 1940's, in Melbourne, Australia. We were lucky enough to shoot in some of Melbourne's oldest buildings and had a wardrobe department that was legit all the way. It was a challenging film to shoot with a very tight schedule, a super small crew and limited light, but, I've really enjoyed it and can't wait to see it on the big screen come 2013 (picture lock is already almost done, GO DOM!!).

On the last night of pick-ups, it was a full moon. Perfect! We could grab a nice moon shot since most of the film is set in the middle of the night. So, as I walked up my driveway I decided to nick inside and grab the old 80-200mm nikkor AI lens, an even older Nikkor 2x converter and see what I could see. My biggest problem wasn't zoom range, but more-so that the sky was overcast with no detail and no stars - just a stark moon. So, after shooting a few minutes of boring video, I decided to pop off a few stills and see what I could do in post. Here's the result:

The techniques in this tutorial are nothing new, but it's good to know that we can do quick composits within EDIUS without having leave the software.  I could have spent more time on the passing clouds (like cutting out a couple to actually pass in front of the moon), added an extra layer of clouds or mist and maybe even key-framed the position of the moon to move ever so slightly.  These are all things you can try, if you've got time and want to take things to the next level. Also, one thing I didn't mention is the importance of adding grain. When you use an image from the web, or any still image, you will notice a fine grain pattern that doesn't move. This is a dead giveaway that the scene is not real-life moving footage, rather, animated stills. To help hide that fact, you can try adding a subtle layer of moving film-grain using the "overlay" blend mode to help. And finally, SOUND will really make this shot come alive.....crickets, a slight wind...who knows. I can't wait to see it intercut with the film.

Here's the in depth tutorial:

*update > I have created a project file that has everything you need to create/render out your own moon scene (found on the front page under "DOWNLOADS"). This is a new and improved scene with an extra background of clouds and a passing cloud in front of the moon. If you would like to use the scene I created, please credit me, thanks :)

Posted on December 8, 2012 .

WHAT WOULD MACGYVER DO? (the glidecam lives on!)

One thing I've come to realize is that it's important to focus on the result, rather than the tools you can't (yet) afford - especially in this industry. Recently I found an amazing location and I HAD to shoot something there. In my mind, I could see this awesome crane shot...but in my wallet I had nothing to support that vision. So, instead of accepting my crane-less situation, I followed my childhood MacGyver days and decided to try something else. What if the cheapest slider on the market could achieve a similar result?

And here it is ...

I'm not claiming to have been the first to try this, not at all. Neither am I suggesting that these shots are just as good as crane shots. I'm simply sharing a result that came from MacGyver style thinking....AND making a point that it's usually YOU who limits the outcome of a shot, not your lack of gear.  

So for the past three years or more, I've had many amazing experiences shooting films, commercials and documentaries, all over the world. It all started when I decided to try and balance my Canon 5D Mark II on the second-hand Glidecam 4000 Pro that I purchased on eBay, year 2008. Here's my reel showing what can be done with a lot of practice and an open mind.

Since RED came into my world however, I've had to change my way of thinking. Not only does shooting RAW change everything, but so does the fact that my new camera weighs at least triple what my DSLR did. Spontaneous flying with my Glidecam 4000 Pro days (no vest/no arm) are over! And those days were awesome :) That's pretty depressing, and so is the fact that if I DID want to fly with the Scarlet, it turns out that after some heavy research I'll need to buy, at a minimum, a Steadicam Zephyr to get any sort of professional results...well....that's close to $10k worth of kit....but wait!! There's got to be a way!! What would MacGyver do?

According to their website, the Glidecam 4000 Pro supports up to 8lbs of weight. When you have a battery, lens, REDMag, Monitor, matte-box, follow-focus and let's not even go there with a Samurai, you're looking at a rig that is WAY over the weight spec. But I had to try it anyway :) At first it was really just a fun joke, to see if I could actually mount this massive heavy rig onto my trusty Glidecam. Initially, it seriously was a joke. I could barely pick the thing up, let alone balance or fly it. In an attempt to balance the weight from the top and match the bottom, I had to use 6 weights either side to get it anywhere NEAR stable. But even then, it was quite clear that I needed a new Glidecam...or something the pro's recommended, a Steadicam.

For the next few days I tried several different setups. Frustration began to settle in. Nothing was working. I knew that I had to configure the rig to be as as light as possible. It was clearly far too top heavy and the weight needed to be distributed down below. So, my first inkling was to take the battery and screen from up top and place them down below....the problem was, I didn't have a long enough power cable. Or did I?

DO NOT TRY THIS (unless you really want to)

In order NOT to purchase an expensive long enough power extension cable OR an expensive belt-battery-plate from RED, you need to cut  your power adapter cord and re-wire your battery plate that you purchased from eBay ;) Below are my hand-drawn schematics that show the wires inside the power cable and what they do. Note that the tiny cables (the blue and orange ones) are for things like battery percentage and other proprietary things. You don't need to worry about them when constructing this ghetto rig, they do not have anything to do with actually powering the camera. Basically, you need to connect the Yellow and Blue wires together to form your NEGATIVE wire, and the White and Red wires together to form you POSITIVE wire. Now, on your battery plate, solder them into position according to the + and - indicators. Once that is done, you need to run the wire inside the Glidecam's pole and mount the plate on the bottom of the base plate.

But SERIOUSLY! Do not try this unless you know what you are doing, or you at least have a kick-ass grandpar who has a multimeter ;)

Re-assembling the red cable is tricky because of the metal sleeves....you'll figure it out ;)

Re-assembling the red cable is tricky because of the metal sleeves....you'll figure it out ;)

INVESTMENT

My awesome pop, Jacques Poldermans, ready to reflect like a boss.

My awesome pop, Jacques Poldermans, ready to reflect like a boss.

THE SETUP

You'll need to drill holes into the pole at the top and bottom, my good bro Trav did this for me :) Once I had the wires run, I managed to balanced my rig with a wireless follow focus and lightweight matte-box as you can see below.

IMG_3237.JPG
IMG_3233.JPG
IMG_3235.JPG

It's far from perfect, but it's also far from $10K. "Real", "Professional" Steadicamers will scoff at my rig (and already have), but I doubt they'd scoff at my results if I said it was shot with the latest Ultra2c. There's a lot of name dropping, brand bias bullshit out there, and then there's people who get the job done. When I can justify the purchase of something more high end, I will...and that goes for all of my equipment too. But in the mean time, I sure as hell will try my best to get the shot I want, for as little money as possible. Besides, it's super fun trying and you learn a lot.

IMG_3228.JPG

LATEST RESULTS (I shot this test video without a matte-box and without a follow-focus. This alowed me to add extra weight to the top, in this case, the Atomos Samurai).

Besides this test, I recently shot a few scenes for a short film with this a similar setup. The shot below required 6-stop HDRX to compensate for the exposure shift from full daylight outside, to low light inside.

ULTRA HEAVY

So can you fly this rig without an arm/vest? Sure, and I did for a few shots in a recent shoot, but if you're thinking slow smooth long takes, you're dreaming. I can fly the rig just with my arm for about 10 seconds...but it's more of battle than anything. One thing I've noticed however, is that when actually using the X-10 arm/vest, I find a heavier balance flies better. Obviously there is a limit (I went way too far with 2 batteries down below and some heavy gear up top) but, I've found that a heavier rig balances better. Below is a pic of a setup that was nicely balanced but was too heavy for the rig - the result was micro vibrations in the footage, no matter how carefully I walked.

IMG_2967.PNG

So, is this the new combo? It's definitely more difficult to set up, but maybe it is, we'll see :) Just like I had to practice for days on end with my 5DII setup, it's now time to get some hours in with the RED :)

Also, I'd just like to say a BIG thanks to Robert Bonici for always being up for camera tests and adventures...you're a legend Ryob!! Thanks :)

Look how free I am hehe ;)

Look how free I am hehe ;)

Posted on December 6, 2012 .

STARVING ARTIST NEEDS A BALANCED DIET (making art and money)

It's one thing to focus on your on-line presence, your business skills and your industry status - but it's equally important to remember what drives you as an artist. We live in a world where money is most certainly a driving force, in a world that is focused heavily on financial success and freedom. It's funny because we are given advice from the greats that suggest we "follow our dreams" and stay true to our hearts. Funny, because it sounds great, but how do we pay the bills if our dream is to be a painter, a photographer or a musician? Unless you're an overnight success (Gangnam Style), I'm betting that you'll need to work in a field that doesn't really match your dream, or in a job that bores you to death. This is a part of life right? We know that money shouldn't be what drives us, but more often than not it is what gets us up in the mornings.

Mid 2007 I made some serious, drastic changes to my life. One of them was to quit a secure job with excellent pay. Another was sell my house and my dream car...and finally, decide that I had to give this "living the dream" thing a fair go. So I sat down and thought about what that dream could be. I've always loved photography, film and images. These art forms have constantly made me happy throughout my life....and continue to do so. Problem is, how the heck was I going to survive as an artist!!?? Balance. That pesky word that solves everything. So simple.....so annoying! So for the fist few years I was driven by this amazing feeling of artistic, soul aligning enthusiasm. I couldn't care less that I was broke and didn't have money for nice clothes or premium unleaded to fill up the Version 6 WRX STi that I didn't have anymore. I was so utterly happy to be following my dream and developing my style as a cinematographer - there was no balance. There was no money hehe :) So, it was time to think like a business man. Time to give this money making thing a go. Once again, for the next couple of years, I tipped the scales and focused all of my energy into my business. My art suffered....and as a result, so did I! I was so focused on building a successful name and business for myself, that I never had time to shoot! It began to depress me. So then came 2010. I was sitting there scratching my head, asking myself "how can I do both?", "how can I live the dream as an artist AND be financially successful!?". Did you know that asking "how" is a billion times more powerful than asking "why?". If I asked myself "why can't you live the dream as an artist AND be financially successful?" I assure you my clever brain would have responded with something like "because you don't have enough time to do both" or "because in this day and age, you can't do both unless you're mates with George Lucas". So, I don't want to start sounding like Tony Robbins here, but the day I explored the answers to my "how", I began to create a balance.

 The inspiration to write about this came to me when I stumbled across this business card in the back of my fake Gucci wallet.

 It was given to me by a guy named Seb at a short film night called Shed Cinema - run by Matt Cleaves and George Clipp. When I asked for his card, he said "sure, pick which one you like best :)". As you can see, Seb is a super talented artist. Each card was hand drawn and completely different....I was amazed. I always wanted to be a ninja as a kid (my other dream hehe) so this card was an easy choice.

Looking at it again, I was inspired and reminded about what drives me as an artist and how awesome it is to get lost in that creative place....how awesome it is to follow that dream and how good it feels to actually CREATE and share art. No wonder I forgot about money.....but now my focus is on balance. How can I be a pure and passionate artist, AND earn a very good living as a result? My brain is already giving me some fine suggestions ;)

 Master your craft, listen to what makes you happy as an artist...but dot forget to eat.

 Check out Seb's website www.sebfowler.com. We can't wait to get him to story-board our next shoot! If you get the chance to meet him in person, I dare you to ask him for his business card :)

Posted on November 1, 2012 .

THERE IS AN "I" IN TEAM!! (don't work alone)

As you're making your way up the ranks to world class cinematographer (aim for the top I say!) chances are you've become used to doing things yourself. Taking on additional roles as the director, producer, editor, colorist and even sound recordist is not uncommon. Whether that's because you're a power freak (the old me) or it's simply a budget constraint, these are tasks we've had to juggle in order to get the job done, even though our main focus is to be behind the camera. My personal journey over the past 10 years has allowed me to gain many skills in both pre and post production, however, I'm really starting to see the value in team work and understanding the importance of skill set delegation. "Let's work as a team" is the cliche advice we all know, but lately what I'm loving more and more is the experience of a crew that clicks. I remember when I was younger I used to look at the credits of a Hollywood feature and shake my head at how many people were actually involved. Even up to a few years ago, I would revel in the egotistical confidence that I could direct, shoot, edit and colour my own productions! I think part of that mindset came from the idea that I knew I could trust myself....because trusting other people with your vision is scary right? And that's the point of this blog entry.

I was recently asked to shoot some stylized video for a boutique bakery commercial in Melbourne. Sounds amazing right? Well, you would think so too if you got to see what had gone into pre production. The way Tatjana Green (creative director) described it over the phone was enough to make me feel fine about the fact that she was taking advantage of my 50% off RED shoot rates during July ;) And I hadn't even seen the brief yet! What came through to my inbox a few minutes later was a super well planned, cleverly thought out creative masterpiece just waiting to be captured. As I was reading through the shot list and looking at the treatment, something dawned upon me. She TRUSTS me to make these visuals happen, and that was a wonderful feeling. As I begin to shoot higher budget productions, I notice more and more how crew members are carefully selected, roles are clearly defined and responsibility is taken more seriously. No wonder it's tough to get into this industry...because not only is there a lot to prove with your show reel, but you've got to perform on set...and to top it off, every job you get is like an interview, or a review.

So, have you got confidence in your own abilities, and what about the crew you're working with? When I speak at seminars or run workshops, I try to stress the importance of self confidence as a cinematographer. Are you confident that you can bring a directors vision to life? (within budget of course!). I'll often ask my class "what gives you confidence?" and the usual answers are, experience and knowledge. For me, this is true! The more I shoot, the more challenges I encounter and the more I learn about different lighting situations. The more I study about cameras, codecs, colour spaces and compression (c,c,c,c,c,c,come on!), the better equipped I am to chose the right tools for the right job. Being confident as a cinematographer is a great place to start, and this is where the "I" in team comes into play. I honestly believe that every person has creative depths that are off the chart, but the one thing that holds that original and fresh creativity back is confidence. You may or may not have seen the promo I made for a recent seminar I spoke at (www.exposeddownunder.com.au) where I talk about the importance of technical knowledge and how that can empower your creative eye. Once we begin working in harmony with that part of our brain, we start shooting with a truly unique style. Awesome! The "I know what I'm doing" has begun....but now you have something else to look at. Your team.

When I realized Tatjana trusted that I could bring her vision to the screen, it gave me a different kind of confidence. It came with pressure! But if you've read my blog before, you'll know that for me, I like to think that "Pressure makes diamonds" :) My point here is, that I've been trusted by a team member, a crew member, and as I studied the brief, I in turn trusted her! The TEAM was formed and as a result, we could both focus on our jobs as professionals. We were both subconsciously encouraging each other as creatives to get the job done as planned...and what a success it was.

I'm writing home about the importance of team work because I've realized it's a massive prerequisite to forwarding your career as a cinematographer. Being multi skilled in this industry is a massive plus. A DoP who is also an editor and colorist has a serious arsenal of skills at his/her disposal when assessing a shot. A soundy who knows lenses is going to know about framing and where not to place his/her mic. An editor who knows directing is going to see better performances and choose shots that help the story, and the list goes on.

When I walked onto set that day to start setting up, I had a new type of confidence. It was so nice NOT to have to come up with shot ideas like I normally would on less organized shoots. It was nice to KNOW what lights I needed, and where to place them before I even got to the studio. It was awesome to know how the shoot was going to be treated in post when I was setting up the picture profile in camera. So many things had been taken care of by someone else which left me in a position where I could REALLY focus on my job, and focus with sharp clarity.

There's an "I" in team, and that "I" is you. But let's not forget how important the team really is. Don't be afraid to let someone else do their job because that's the beauty of this industry. We are all working together and have all been chosen for a reason. When I walk on set with a new crew, I trust that each and every one of them are just as passionate and willing to do their best as I am. That stuff is infectious. Try it!

A big thanks to Dean and Rochelle from Preface Films and Tatjana Green from Brought To You By for the opportunity to shoot such cool and fun stuff. Also thanks to the amazing Karen from Finessence Photography for these great BTS shots :) GO TEAM!!!

Posted on July 15, 2012 .